Come see where and how Ozark Handspun Yarns are made! And spend some time with the talented artists who make the Ozark creations seen on this blog.
From Friday through Sunday, June 5-7, 2009, David invites you to join him for a few days of fun, creative mess-making and learning. He's also invited Janice, a designer of Ozark creations, to teach you some of her techniques.
CLASSESColoring (dyeing), taught by David, Friday 5-6:30pm and Saturday 8-9:30am. Materials: Silk Scarf $20. Wear old, comfortable shoes, ones you don't mind getting messy.
Nuno Felting, taught by David and Janice, Saturday 9:30-Noon. Materials: 1 yd crinkle chiffon laminate $20, 1 skein Ozark Opulent $30, 1 bag pencil roving $20, 1 rolling mat $20; total $90.
Ozark Core-tail spinning, taught by David, Saturday 2-5pm. Materials: 2 100-gram bags of Ozark Clouds $48, 1 spool of cotton thread $5; total $53. Bring your own
working spinning wheel.
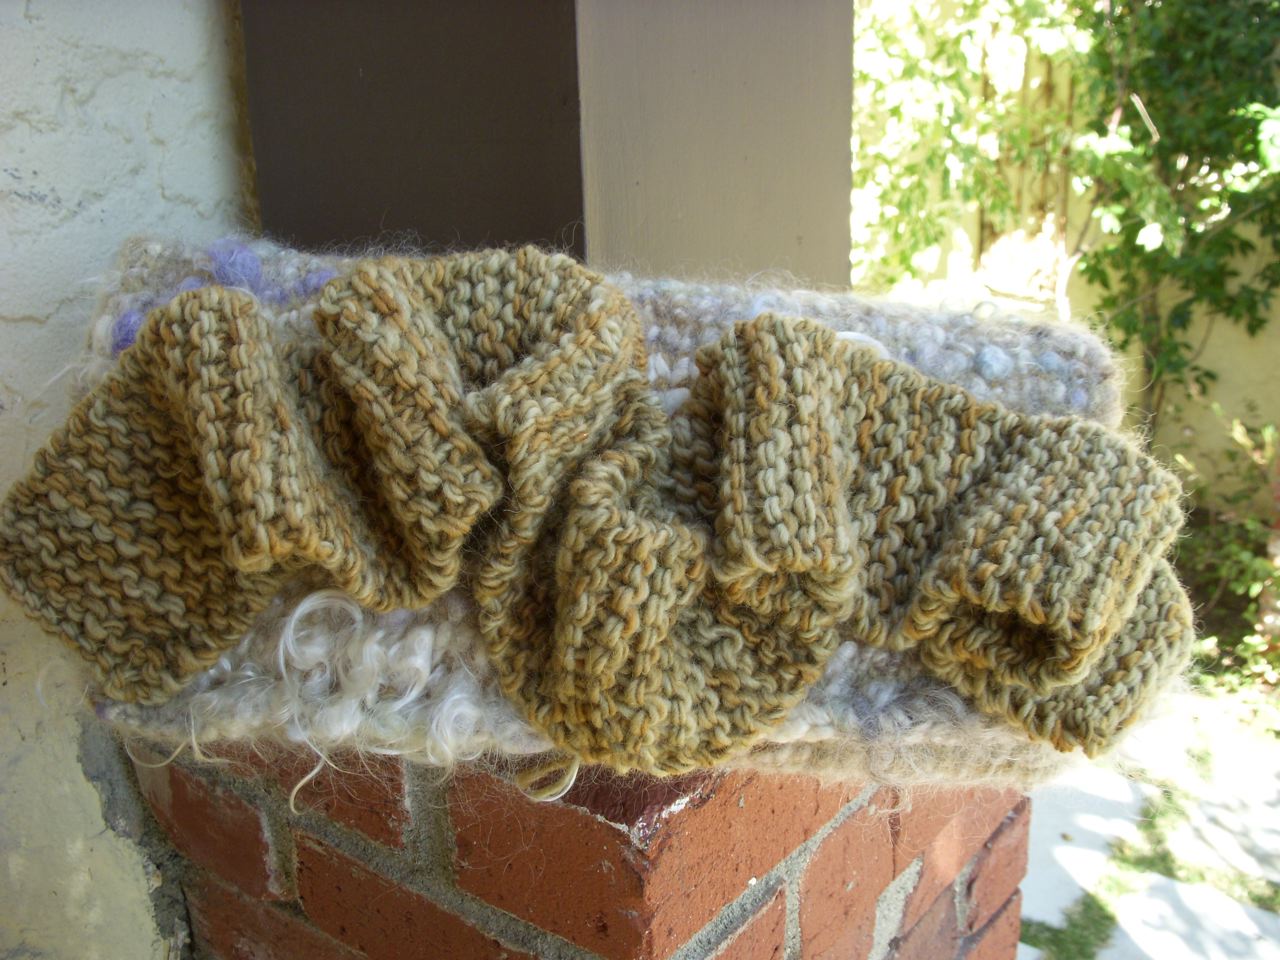
Free form knitting and crochet, taught by Janice, Saturday 1-5pm. Materials: 1 skein Ozark Companion yarn $15, 1 skein Ozark Opulent yarn $30, 1 Ozark Mane scarf style $25; total $70. Bring your own assortment of crochet hooks and knitting needles.
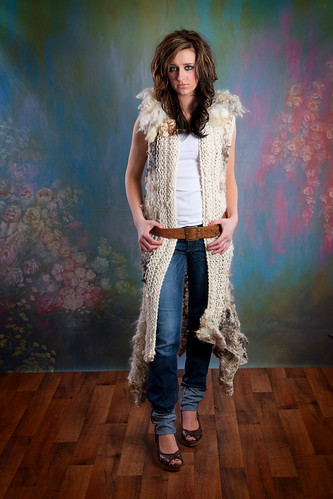
Ozark Felted Vest Class, taught by Janice, Sunday 9-Noon. Materials: 1 pieced Ozark Vest ready for finishing $100, 1 skein Ozark Opulent yarn $30, 1 skein Ozark Companion yarn $15, Ozark Brambles (Free); total $145.
OPEN HOUSEOn Sunday, David and Terri will host an open house. They live in a stately two-story brick home built in the late 1800s, surrounded by a lush garden, tended by Dave in his spare time.
COST $50 per Class, excepting the Coloring Class which is $75. Observe any class for $30, or observe all five classes for $100.
SUPPLIESSupplies can be bought on site, and are in addition to the class fee. You may bring any supplies that you may already have.
REGISTRATIONClass size is very limited. There will be no more than 15 in any class. Sign up now to reserve your spot! To register, call 573-644-8736 or email terri(at)ozarkhandspun(dot)com.
LODGINGAs the state capitol, there are many fine places to stay in Jefferson City, including the Capitol Plaza Hotel, the
Cliff Manor Bed and Breakfast, and the Super 8 Motel. You can find other lodging options on
tripadvisor.com. TRANSPORTATIONJefferson City is located in the center of Missouri. It's a pleasant two hour drive from the St. Louis airport (STL) and a three hour drive from the Kansas City airport (MCI).
Amtrak also runs a train service along the Missouri River between Kansas City and St. Louis, with a stop in downtown Jefferson City, just a mile from many lodging options.


 Finished Size: 16” x 22”
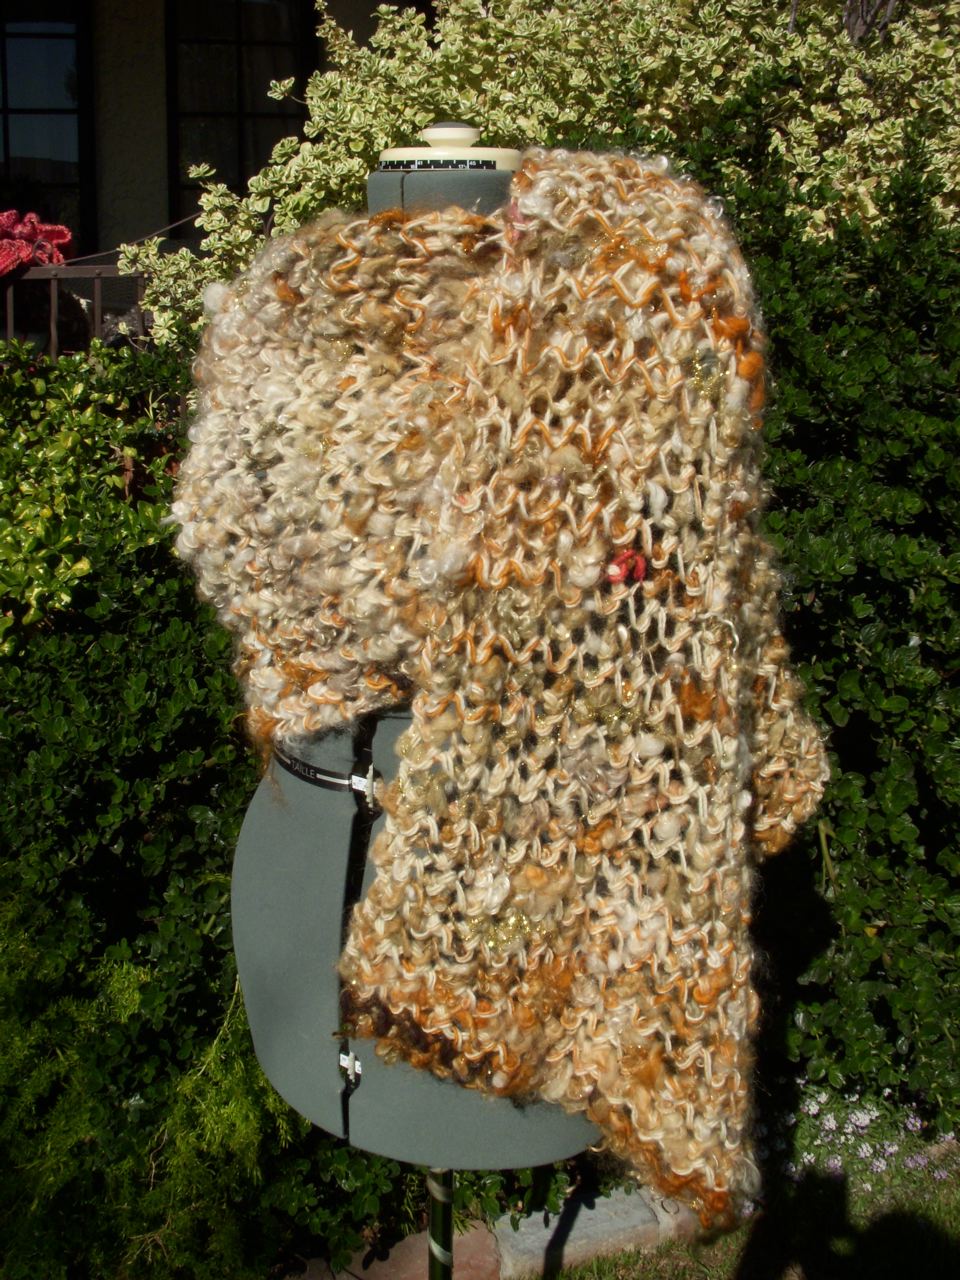 MATERIALS: